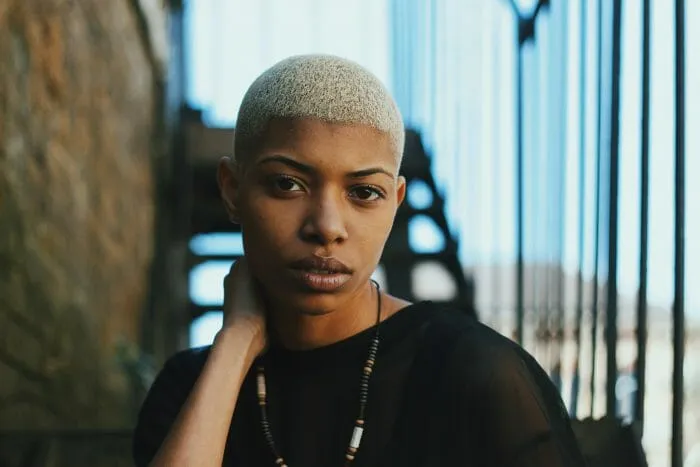
Dying a buzz cut is relatively simple compared to longer hairstyles, but it comes with some unique considerations.
Here’s what you should know:
READ ALSO: Blue Dye Hair: How to Achieve, Maintain, and Keep Your Color Vibrant in 2025
Table of Contents
Dying a Buzz Cut Step #1. Choosing the Right Dye
- Permanent vs. Semi-Permanent: If you want a bold, long-lasting color, go for permanent dye. If you prefer something temporary, semi-permanent or temporary dyes are a good option.
- Bleaching for Lighter Shades: If you’re going for a vibrant or pastel color, you may need to bleach your hair first, especially if you have dark hair.
- Scalp Sensitivity: Since buzz cuts expose more of your scalp, choose a dye that’s gentle to avoid irritation.
2. Application Process
- Protect Your Skin: Apply petroleum jelly or a barrier cream around your hairline to prevent staining.
- Even Application: Since the hair is short, using a brush or gloves to evenly distribute the dye is key.
- Processing Time: Buzz cuts absorb dye quickly, so you might not need the full processing time. Check frequently to avoid over-processing.
3. Maintenance
- Frequent Touch-Ups: Since hair grows fast, your natural color will show within a couple of weeks, requiring more frequent touch-ups.
- Color-Safe Products: Use sulfate-free shampoos and conditioners to maintain the color.
- Scalp Care: Since your scalp is more exposed, moisturize and use sunscreen if necessary.
Dying hair highlights is a fun way to add depth and dimension to your hair, but highlights can also require some upkeep, especially when it comes to maintaining the color and keeping hair healthy.
Whether you’re aiming for bold, bright streaks or subtle, sun-kissed locks, the key to successful highlights lies in the process and the products you use.

If you’re thinking of giving yourself or someone else a new look with hair highlights, here’s a guide to help you get started, along with some product recommendations to make the process smoother.
READ ALSO: The Ultimate Guide to Balayage Highlights on Dark Hair 2024
First, let’s talk about choosing the right shade for your highlights.
The best highlights complement your natural hair color.
If you have dark hair, caramel, honey, or light brown shades are great choices.
For those with lighter hair, consider ash blonde, platinum, or even pastel tones for a fun twist.
If you’re not sure which shade would suit you, it’s a good idea to visit a professional colorist for a consultation.
They can help you choose a color that enhances your natural tones without overwhelming them.
Tools and Products Required for Dying Hair Highlights
When it comes to the actual dyeing process, you’ll need a few essentials: a good-quality bleaching kit, a tinting brush, aluminum foil (or highlighting caps, depending on your technique), and a toner to neutralize any unwanted brassiness.
Products like the L’Oréal Paris Colorista Bleach offer reliable results and are relatively easy to use, even for beginners.
If you’re nervous about damaging your hair with bleach, opt for a kit that contains conditioning agents to keep your hair from becoming too dry or brittle.
Application technique is key to achieving seamless highlights.
One popular method involves using aluminum foil to separate the strands you’re bleaching from the rest of your hair.
This allows for precise application and helps prevent the bleach from seeping onto other sections.
If you prefer a more natural look, you might try the balayage technique, which involves freehand painting the highlights onto the hair.
This method creates a softer, more blended appearance, perfect for a beachy vibe.
After you’ve achieved the desired level of lightness, it’s time to tone your hair.
Photo credit: TheNiksters, Buzzcut Guide